How to take bright photos in the winter
Let’s face it, lighting in the winter is just rubbish, isn’t it? Heck, sometimes even in the summer months, the rain won’t stop and the dark, grey clouds won’t subside – this is the UK, after all. Seeing as photography is such a huge aspect of blogging and social media, it can be frustrating when you can’t capture the beautiful shots you imagine. I totally get it. I’ve been blogging for eight years but thankfully, through experience and tools I’ve picked up as a designer in my day job, I’ve learnt a few ways to improve during the overcast days. Here’s some of my tips and tricks on how to photograph and edit your blog photos.
Of course we all know by now that natural lighting is best, but it’s not always possible. If it’s an overcast day and I need to take some photos, studio lighting is my best friend. It sounds rather professional and a little bit scary but the price tag isn’t as high as you might think. I use studio lighting in evenings when there’s no light at all but also as an extra boost on overcast days - but I’ll make sure to open the curtains and get as much light in as possible as well. I bought these softboxes a few years ago and they’re still going strong - easy to store (they disassemble easily into smaller pieces) and were £60 on Amazon, so definitely a good investment if you’re struggling with dull, dark photos. I love having clean, crisp white backgrounds on a lot of mine (especially product photos for my Etsy shop) so the brightness is super important for me, and these help a lot.
If you don’t want to invest in studio lighting, there are also a few adjustments you can make on your camera to capture all of the light possible.
ISO is the camera's sensitivity to light. the higher your ISO, the more sensitive your camera is, which means it is used when shooting in lower light environments. The downside to this is it creates grain - so it really is a balance as it increases the amount of noise in your photos. This is also the point where I should say to switch your camera off the auto setting! I know it’s daunting but there are some really great tutorials out there that explain all the various settings on your camera and teach you (a lot better than I can) about which setting does what and when to use them. If you are shooting in low light and using a high ISO such as ISO 3200, you may also find your images are blurry. I recommend using a tripod when taking your photos in the evenings - even if you think you have a steady hand, your camera will catch you out! Another setting I like to alter in cases like these is the exposure compensation, usually marked as a +/- depending on your camera. Increasing this number will increase the inbuilt exposure on your camera.
Another setting to play with is the shutter speed. A slower shutter speed will result in brighter images, because you are allowing more light into the sensor. Again, this one is better with a tripod because it’s more likely to produce blurry shots.
Finally, you’ll want to adjust your camera’s aperture. This element controls how much light is passing through the opening to the camera’s sensor. The aperture is measured in f-stop values - and the lower it goes will depend on the lens you are using. My favourite lens to shoot with is my 35mm lens, which goes down to f/1.8. This is a wide aperture as it lets in the most light, whereas an f/16 for example, are small apertures, despite it being a larger number. You’ll have probably heard of f-stops when you’re wanting to create a shallow depth of field, or an out of focus background.
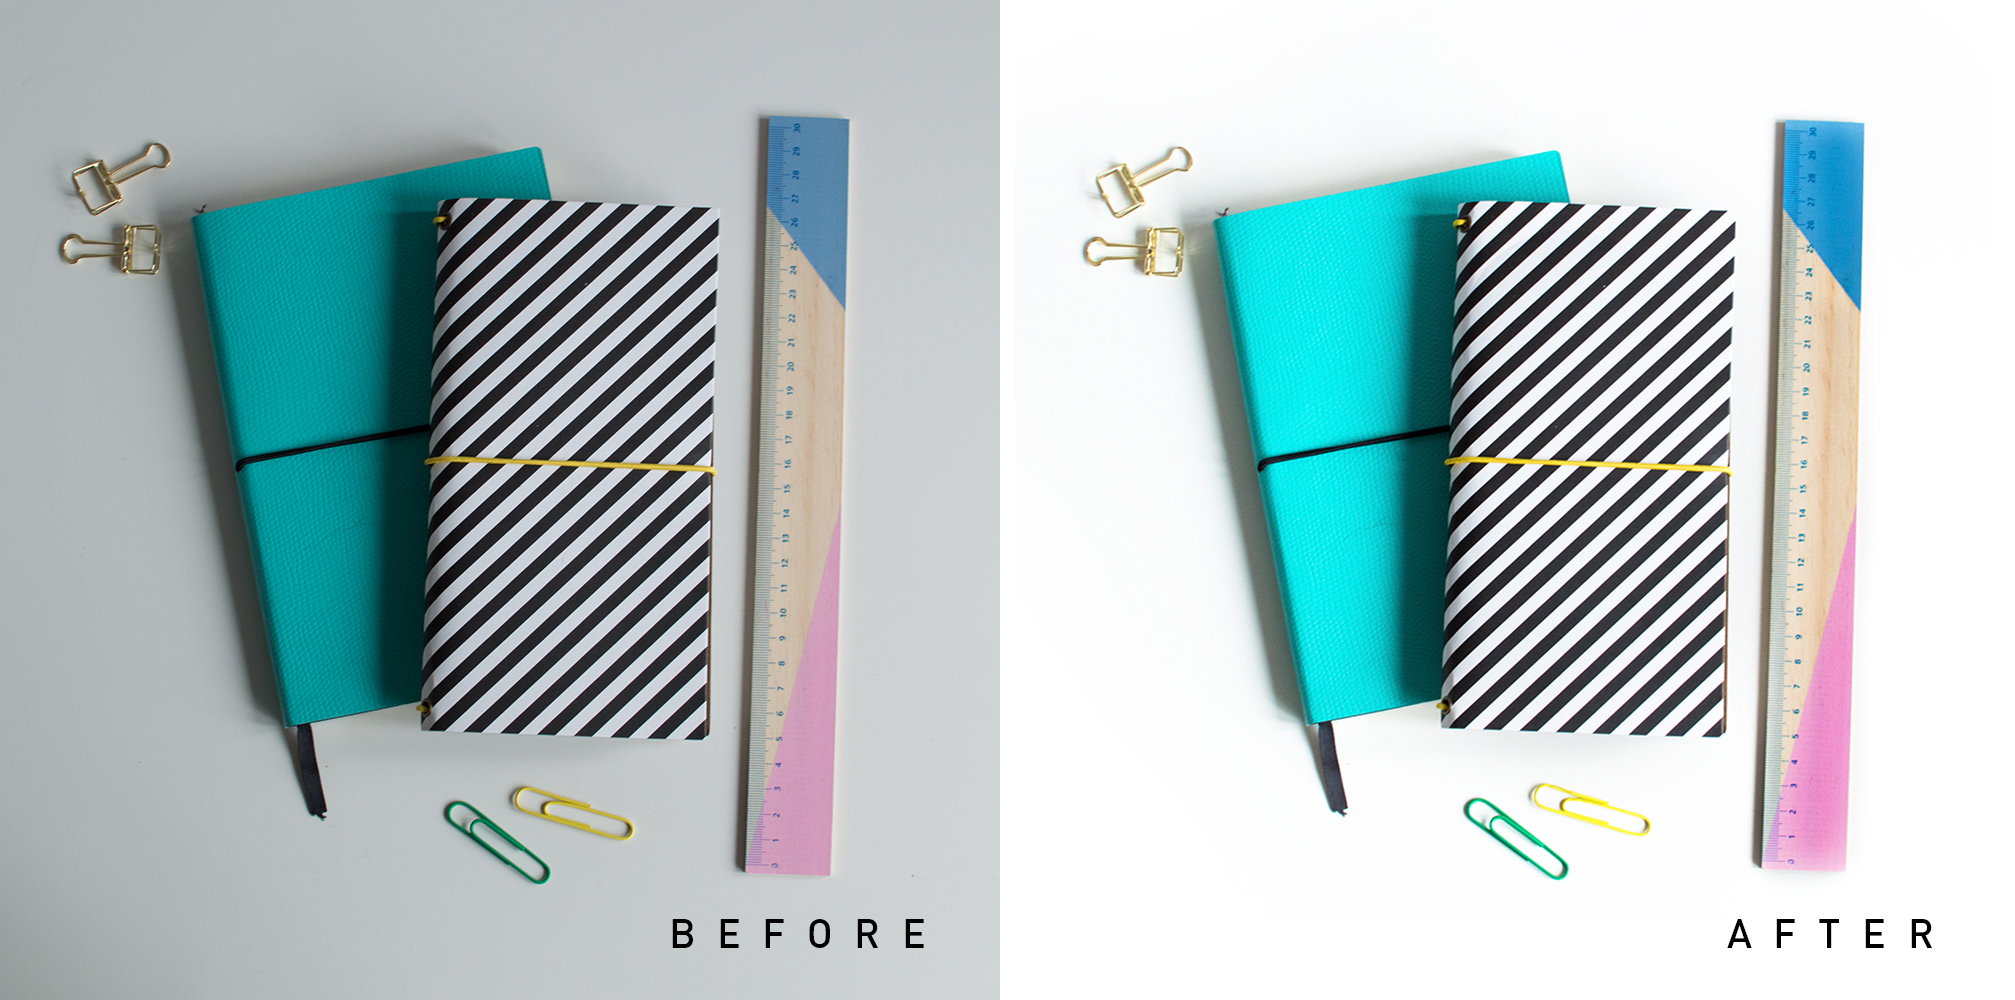
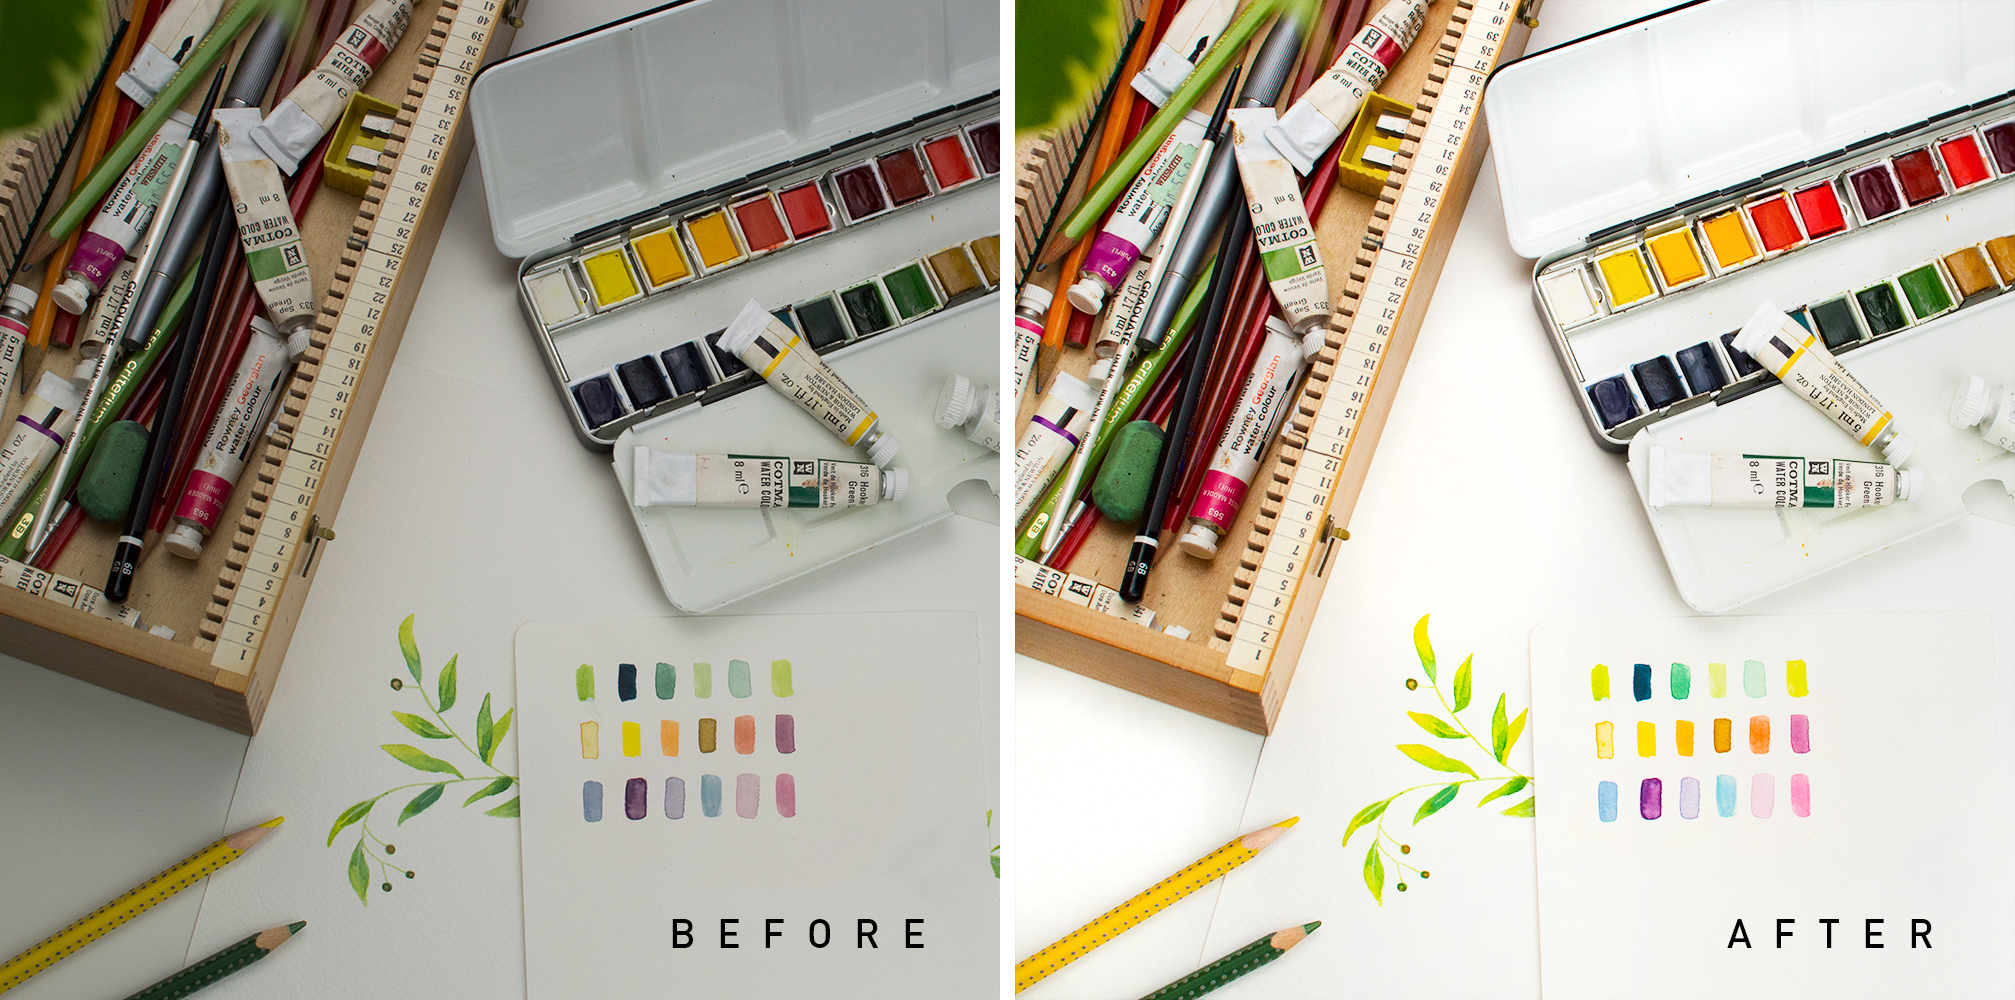
It’s all a matter of balance - so play around with your camera settings and keep taking photos. Keep referring to the image and adjusting the various settings to get the best result.

It’s not all down to the lighting and camera though - editing is a really powerful thing and while it can’t fix everything, a few adjustments in post can make a world of difference. I use Photoshop which I know isn’t accessible to most, but the different elements I’m going to talk about will be found in different programs too. Apps are also a lot more powerful than they used to be, so these skills can be transferred on to almost all editing platforms.
The main adjustment you’ll want for your photos is the exposure. I know for sure that this is available in almost all editing software, but in Photoshop, I like to use the curves tool. You can also use levels but I find curves are a lot easier to adjust and give wider flexibility. If you ramp the exposure up too high, it will wash out your image, so be sure to counteract this by upping the contrast. If you are using Photoshop and find a specific part of your image needs different adjustments to the background for example, create a new layer and use a mask to adjust it separately. (I can talk about Photoshop for hours so I won’t go into detail - I want to keep this very broad so it can be transferable to other programs).
Some apps, including Photoshop, have a specific brush tool that can lighten specific parts of the image (dodge tool). Use this on specific shadows on your image, but try not to blow out the highlights. We want the image to look realistic!
Another tool I like to use after adjusting the lighting in the photo is to up the vibrance and saturation. Use the saturation sparingly as this can be rather powerful and easily overused.
That’s it! I hope these editing tips have helped and will be useful during these dark, winter months. Hopefully I haven’t gone too technical and no matter which editing software you use, this will be transferable advice and make some sense! Be sure to send me a tweet, email or comment below if you have any questions or need some advice - I’m more than happy to help!
If you're a regular reader of my blog, I'm conducting a reader survey! It will only take a few minutes to complete and I'd be so grateful if you could fill it out. I'm hoping to determine and focus my blog content this year so this would be a huge help! Here's the link: https://goo.gl/forms/PMXbmlEIwQJ9yxOb2 Katie xo